Having a HTML email signature unlocks the power of clickable links and changeable banners, making your email signature far more interactive.
Note: Google Chrome automatically underlines links in email signatures, which may not align with your desired design. To avoid this, we recommend using a different browser when setting up your email signature.
Mac users: Safari works seamlessly.
Windows users: Firefox is a great alternative.
Once your signature is set up, you can switch back to Chrome, and it will display exactly as intended.
1. Copy your new email address
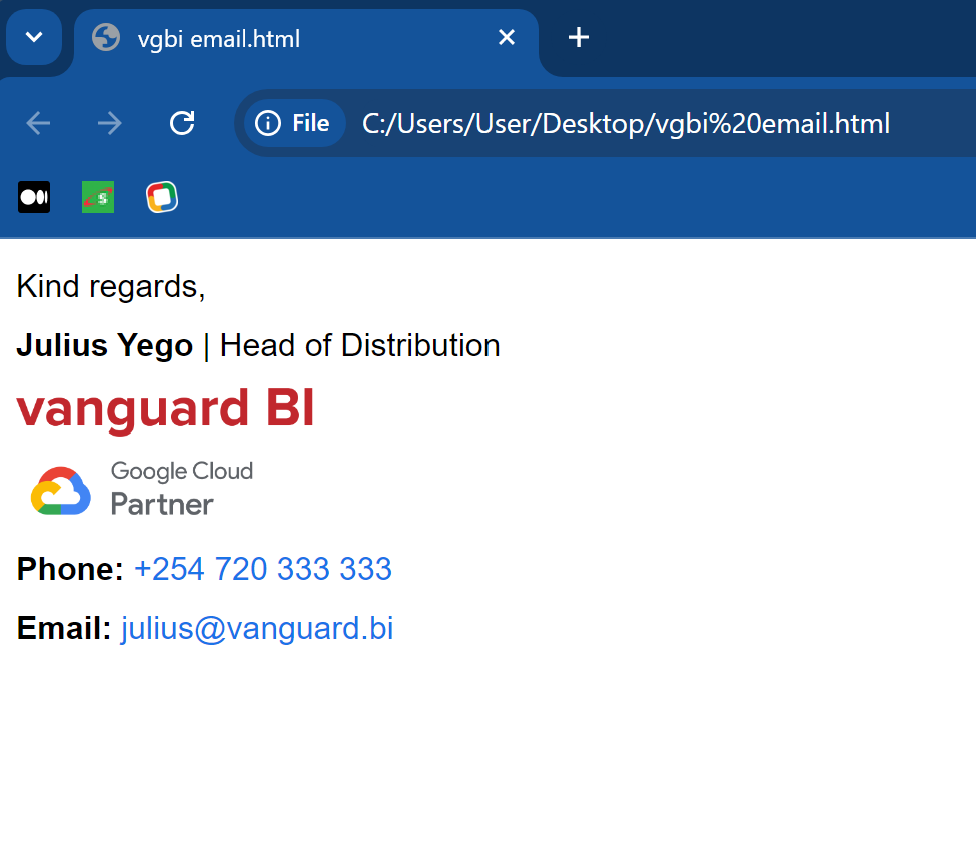
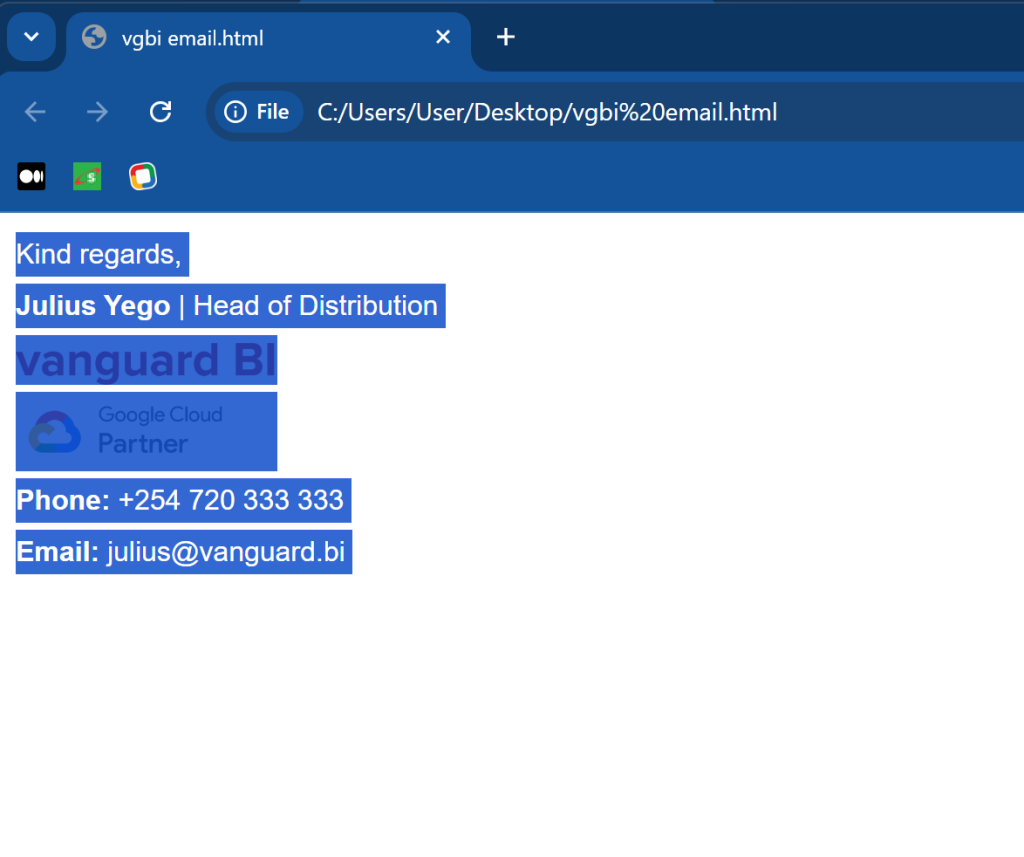
1. Click on the link shared with you to open your email signature.
2. Click on any white space inside the screen.
3. Press Ctrl + A if you’re on Windows, or Command + A if you’re on a Mac. This will highlight the whole signature. Then, press Ctrl + C to copy the signature.
1. Set it up on Gmail
1. Open Gmail on a new tab in your browser (we’re using Chrome for this example) by typing “mail.google.com” in the address bar.
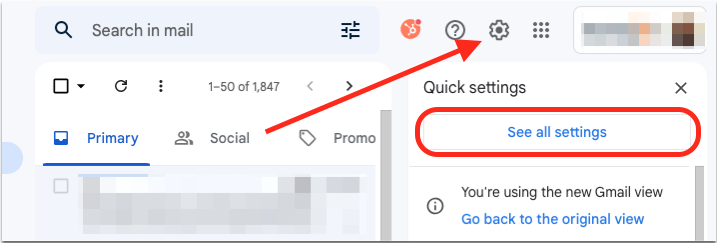
2. Click the gear icon in the top right-hand corner and select “See all settings” from the drop-down menu.
3. In the “General” tab, scroll down to find the ”Signature” section.
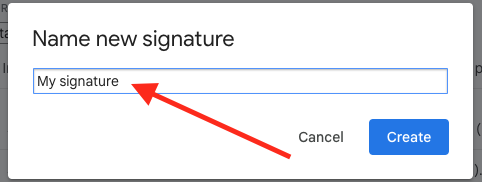
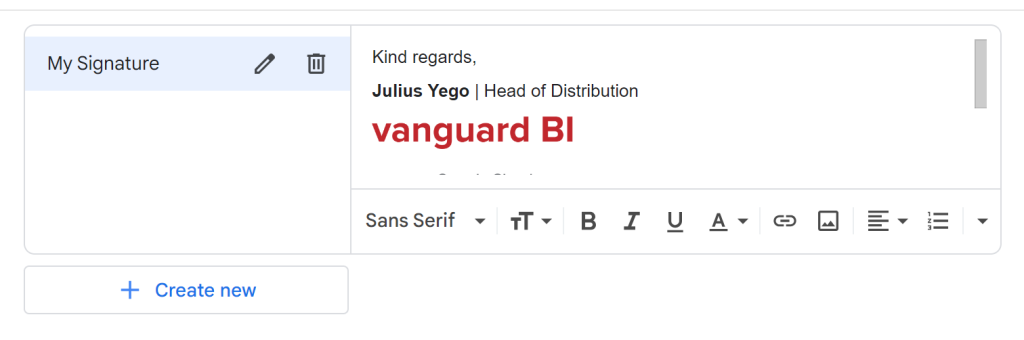
4. Click on + Create New, insert the internal name of your signature then select Create.
5. Paste your signature into the box provided. You can do this by right-clicking in the signature box, then selecting Paste.
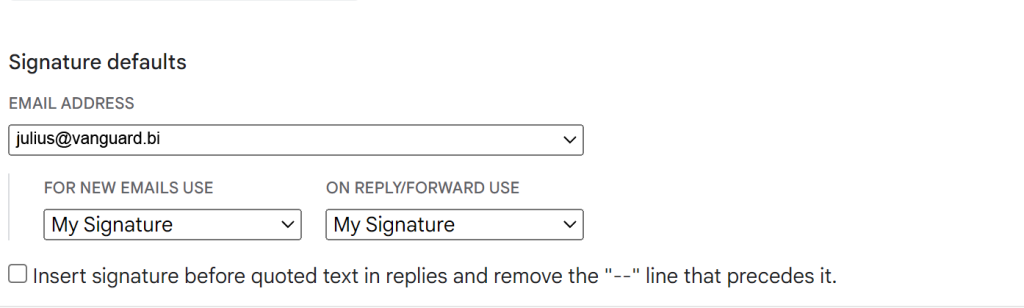
6. Once you’re happy with your signature, you can choose when you want it to appear by navigating to “Signature Defaults.” Use the dropdown menus under FOR NEW EMAILS USE and ON REPLY/FORWARD USE then select your signature.
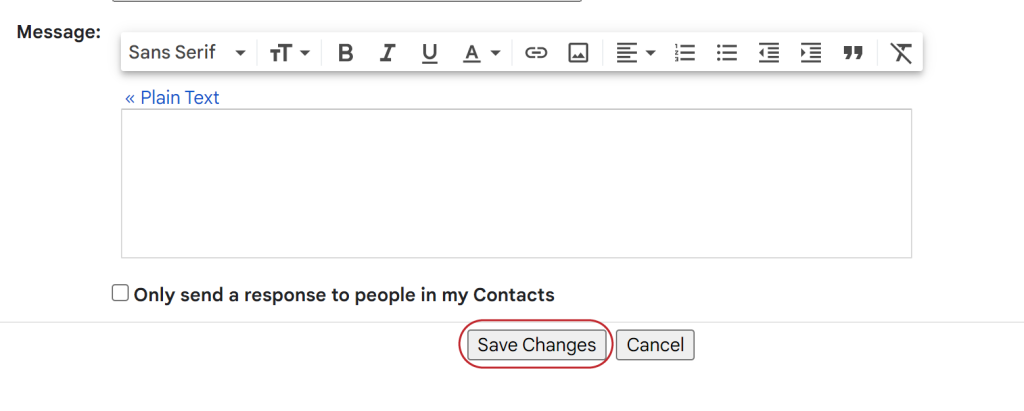
7. Scroll to the bottom of the page and click Save Changes.
8. That’s it! Your signature will now be automatically inserted to the end of any emails you send from Gmail.
3. Bonus: Your HTML Signature on Your Phone
This all works great for the web. But you may wonder: Is there a way for me to have my HTML email address on my phone as well?
Previously, we had to do this manually, but not any more! Starting April 2025, Google made it so that it just works without having to change any settings on your phone.
Would you like to find out what else you can do with Google Workspace? As a certified Google Cloud partner, we’re here for you! Drop us an email on [email protected].