Setting up 2-Step verification will help you secure your information better, while giving you easier ways to log in than entering your phone number. In this guide, we will show you how to set up 2-Step Verification and authenticate with Google Authenticator in just a few easy steps.
1. Go to your account settings
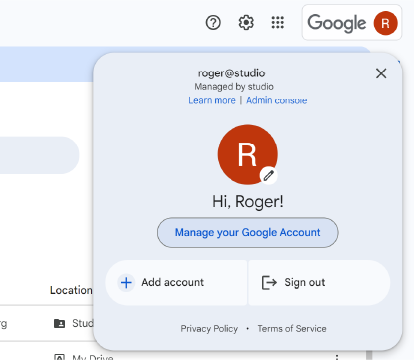
Open Gmail. Then, click on your profile picture on the top right corner. Then, click on Manage your Google Account.
2. Go to security settings
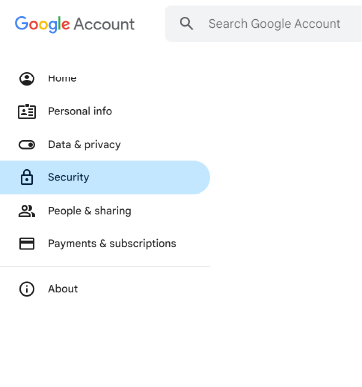
1. On the menu on the left hand side, select Security.
3. Select Google Authenticator
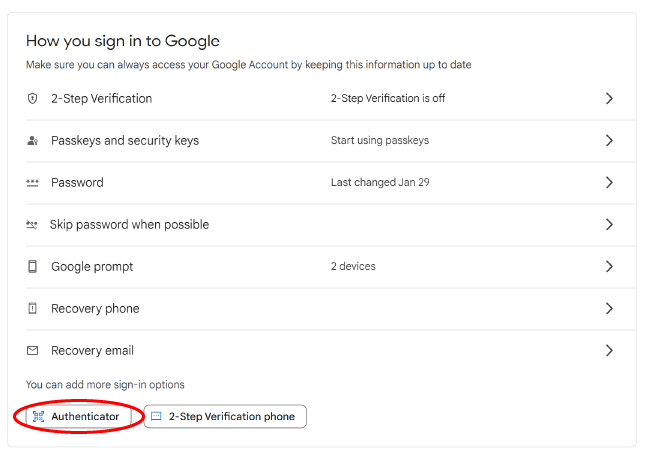
In the section titled How you sign in with Google, select Authenticator.
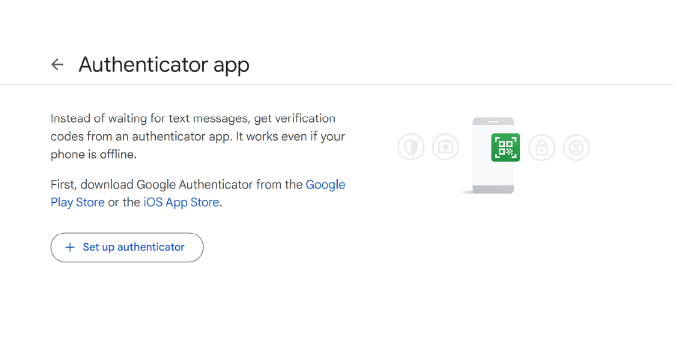
4. Download the Google Authenticator app on your phone
If you’re on Android, download the app here. If you’re an iOS user, use this link.
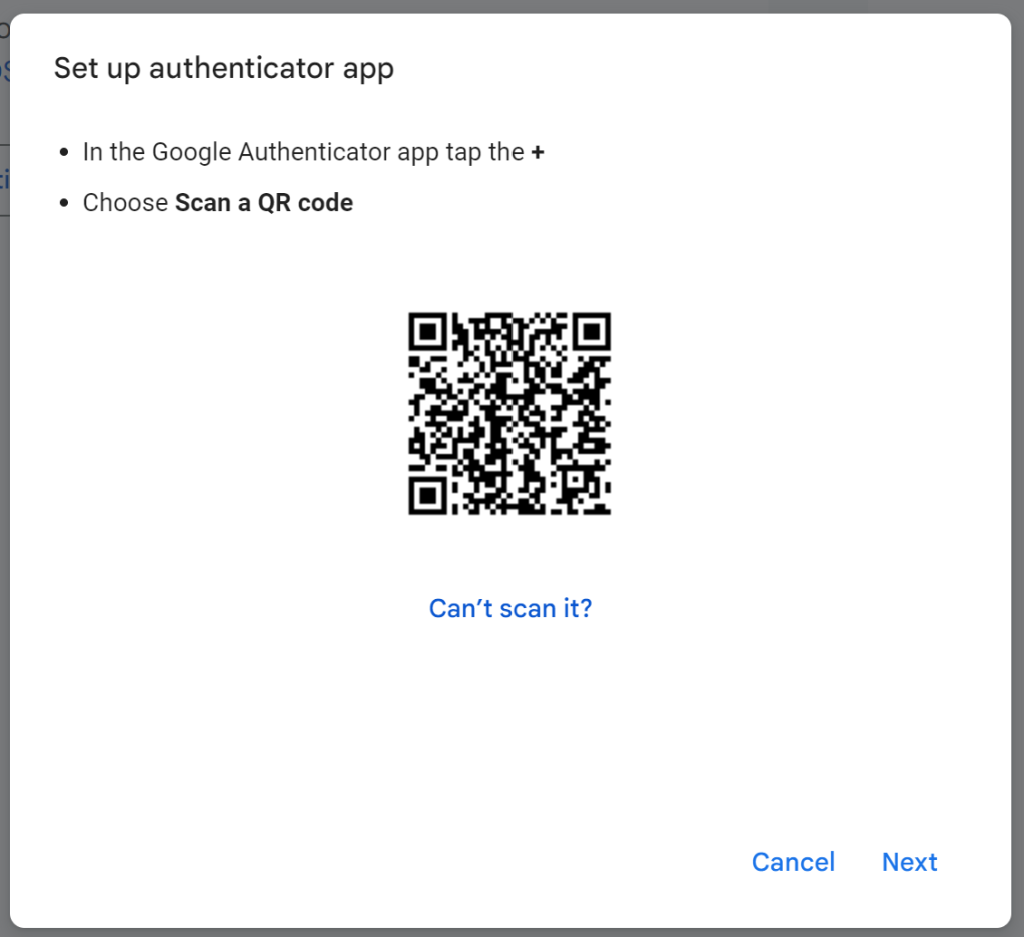
5. Get the QR Code
To be able to log in using the Authenticator app, you will need to scan a QR code.
6. Sign in with your work email address on the app
If you can’t see your account on the list, select Add another account.
7. Scan the QR code
Once you’re signed in, click on the + button and select Scan a QR code. You may also see the option Scan a QR code right at the centre of your screen.
Once you’ve scanned it, click on Next.
In the next screen, enter the code that appears on your phone.
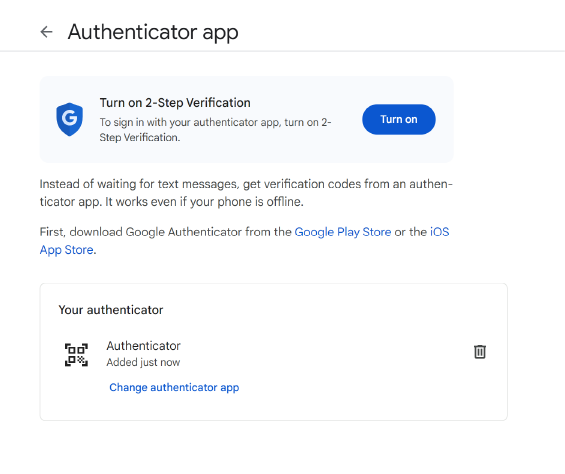
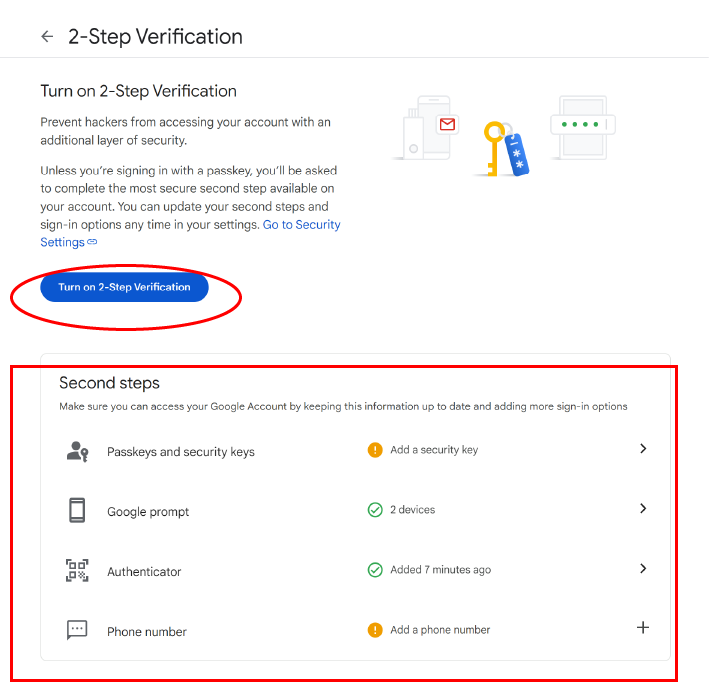
8. Enable 2-Step Verification
As the final step, you will need to enable 2-Step Verification for your account. Click on Turn On, then Turn on 2-Step Verification. Here, you can also see the other second steps you have, including the Authenticator we just set up.
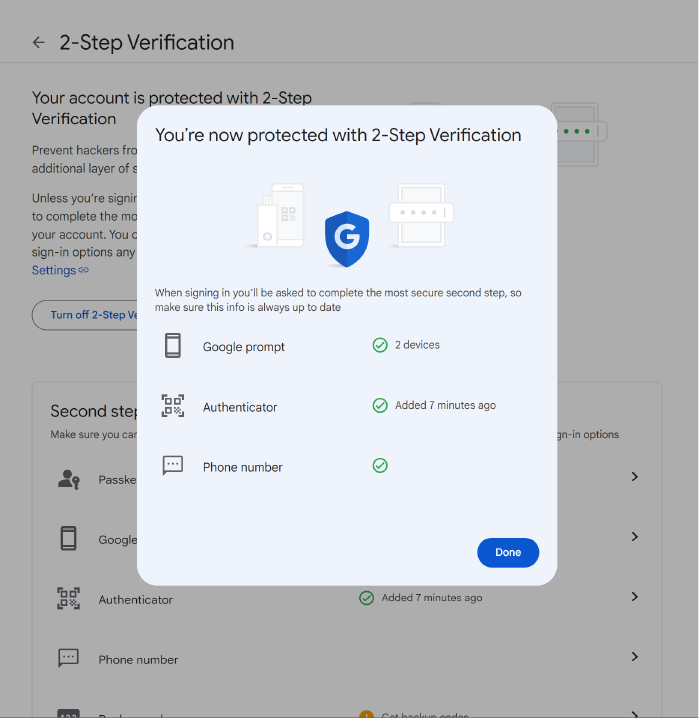
9. Hooray! You are done.
You can now use Google Authenticator to log in.
If you have any questions, or get stuck at any step, let us know on [email protected], and we’ll be happy to help.